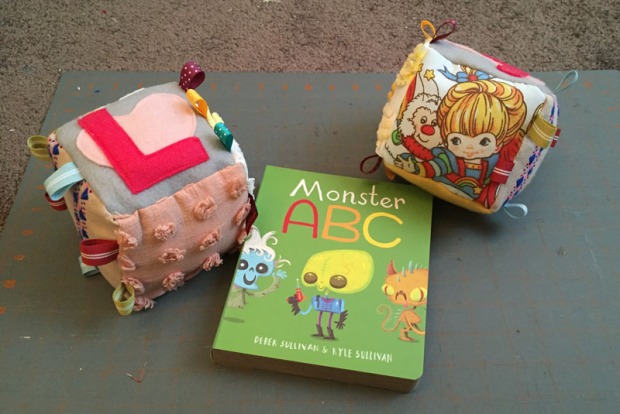
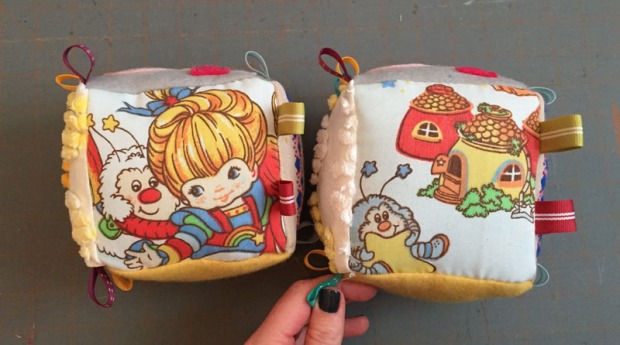
A few days ago I wanted to do an easy sewing project to give as a baby gift for a friend’s baby shower. I know that babies of a certain age are really into different textures, so I decided to make a set of two blocks with various textures among the different sides. I was able to make them using all materials I already had, but if you have to buy the sewing supplies it would be very inexpensive ($5-10, depending on how many Joann’s coupons you’re taking advantage of).
The below sewing tutorial would be a great project for a beginning sewer.
To start: Machine washable fabric is crucial for this project since the baby will inevitably be chewing on the blocks and they’ll eventually need to be thrown in the washer. Make sure all fabric is prewashed before you cut it so you eliminate any weird shrinking that might happen after it’s made and washed.
Sewing supplies you’ll need:
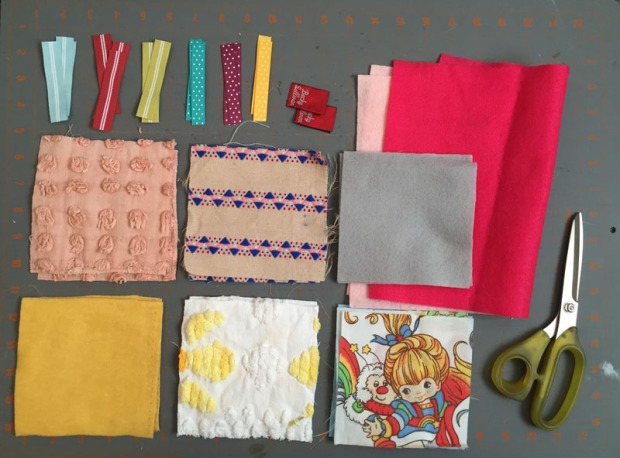
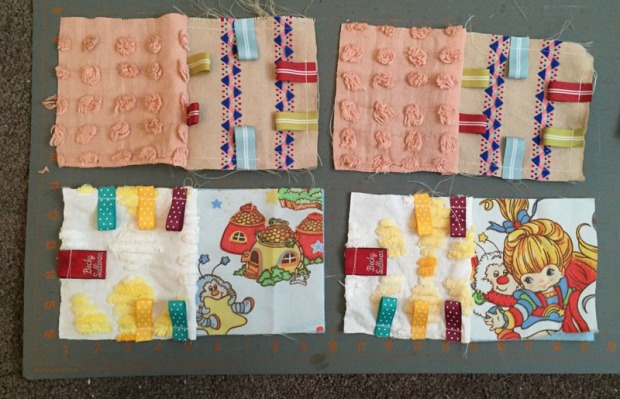
Fabric – Each piece is 5″ square, so you’ll either need 12 differently patterned pieces that are 5″ x 5″, or to have matching sides you’ll need a single bigger piece of fabric that’s 1/4 of a yard
Pillow stuffing
Ribbon – Each piece is 5″ long and folded in half, so depending on how many ribbon tabs you want will determine the end amount needed
Thread
Sewing machine
Scissors
Needle for hand sewing the hole closed at the end
Seam allowance: 1/2″
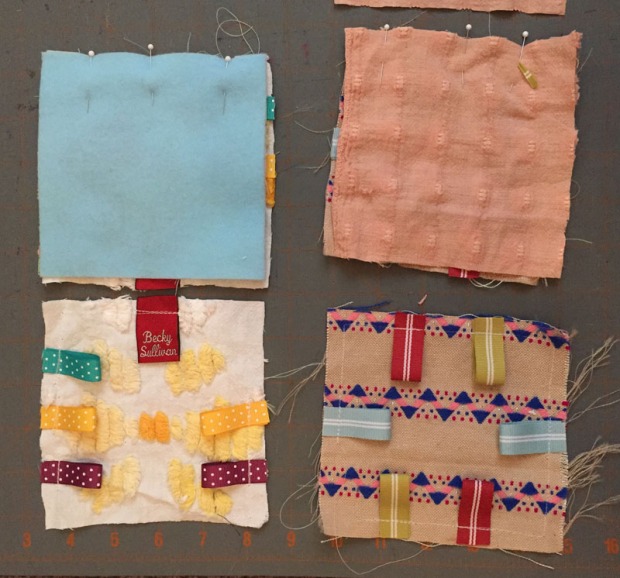
Step 1: Cut out all 12 5″x 5″ squares and all 5″ ribbon pieces. I chose to do 2 identical blocks, but you can do any combo that strikes your fancy.
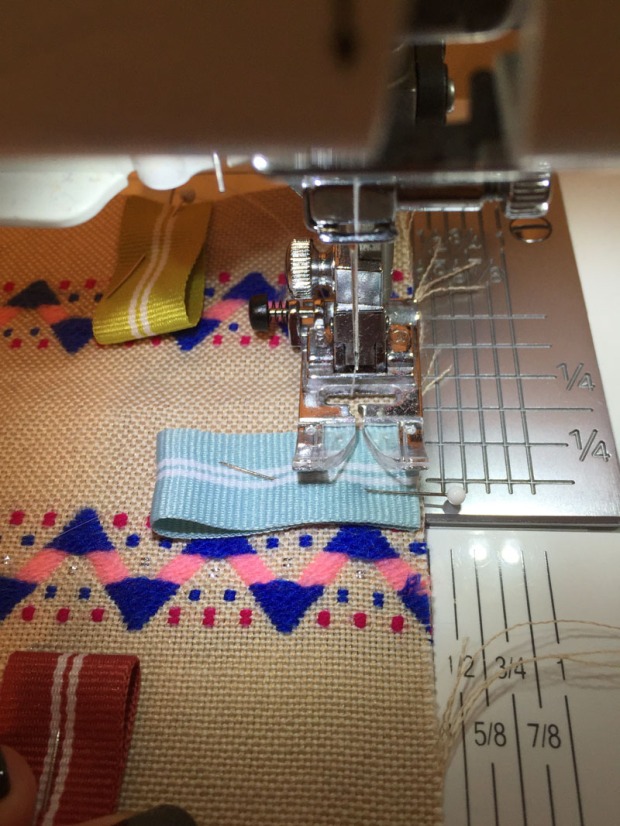
Step 2: Fold each ribbon piece in half and pin to the pieces you want. To keep it simple I attached all ribbons to 2 different squares.
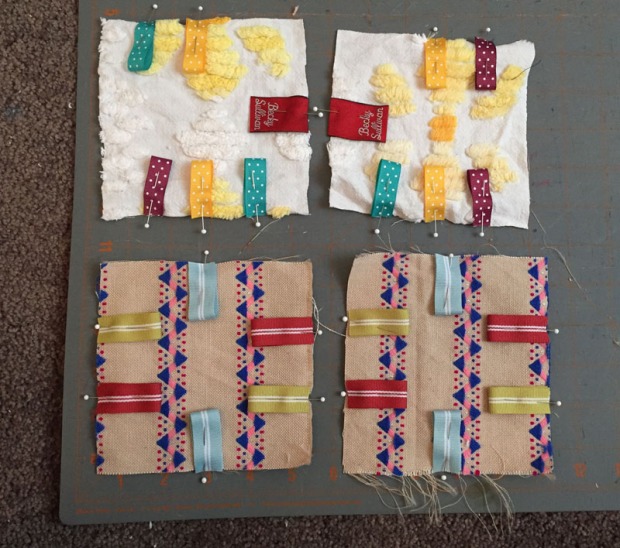
Step 3: Using a 1/4″-3/8″ seam allowance, sew all ribbon tabs to the square they’re pinned to. (A smaller seam allowance will ensure you won’t see this stitching on the completed project.) Sew forward and back over each ribbon three times to make sure they won’t come loose.
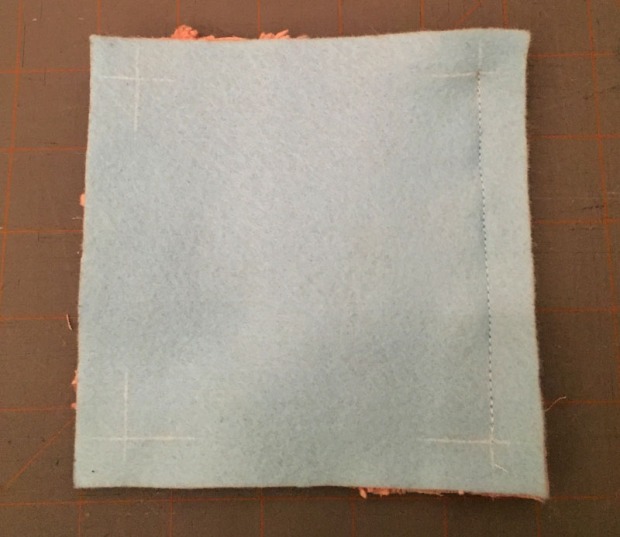
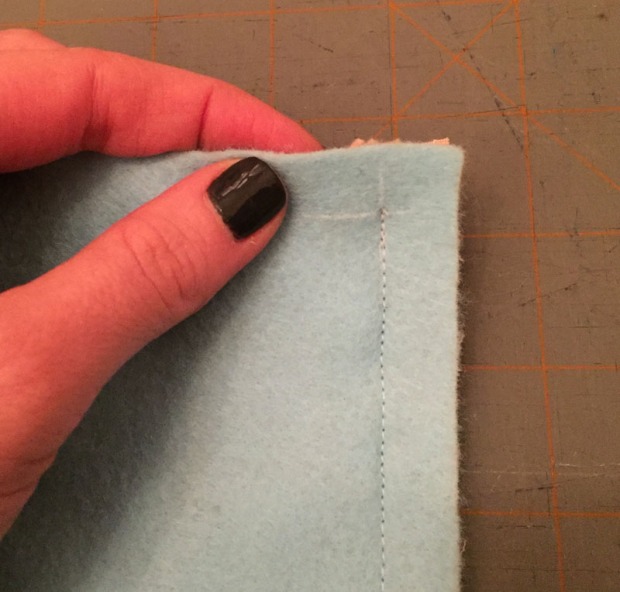
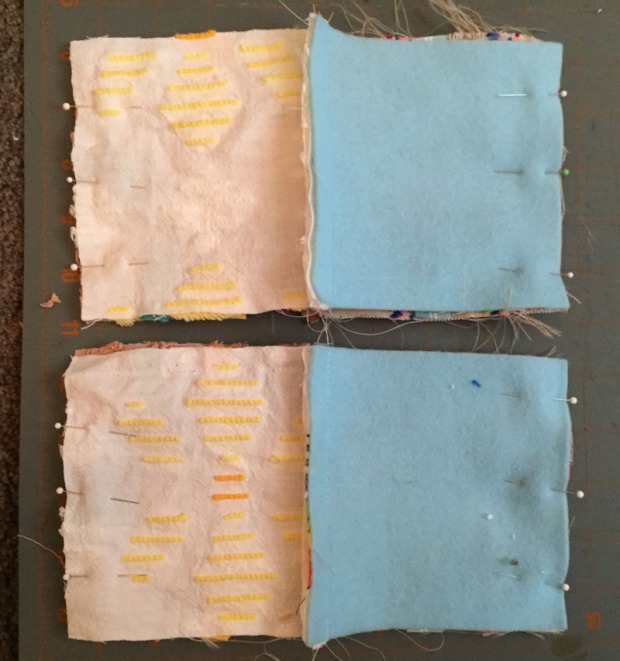
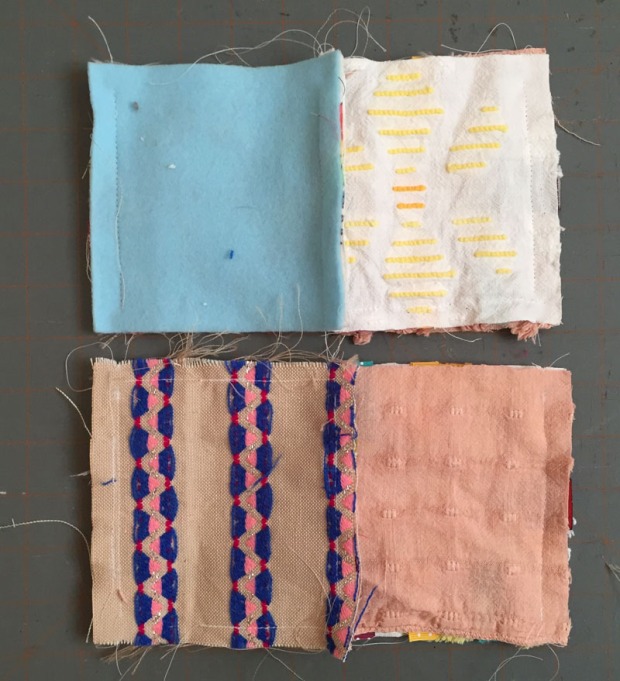
Step 4: Turn all pieces over and use a ruler and chalk or a pen to mark each corner 1/2″ in on the back of each piece. This will help when sewing so you know when to stop and back tack.


OPTIONAL: To make one side of each block personalized, cut out a heart and the appropriate letter. Add the heart and sew with matching thread. Then add the letter and sew with matching thread. Slideshow below:
Step 5: Pick two pieces with no ribbon tabs to sew to the pieces with ribbon tabs, making sure to stop at the 1/2″ marks you made. Back tack.

Step 6: Repeat with two more squares.
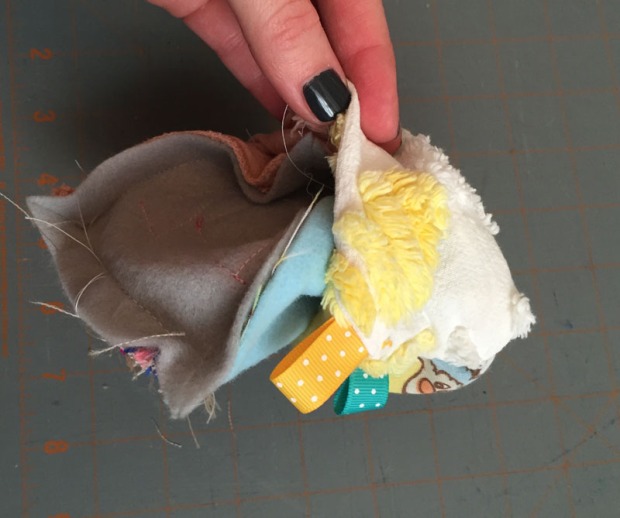
Step 7: Pick one end cap piece and pin to open end of cube. Sew closed.


Step 8: Pin remaining end cap piece, leaving most of one side unpinned. Do not sew this part closed, because you’ll need it to turn the cube right side out. Sew three sides closed.


Step 9: Turn cube right side out.
Step 10: Fill with pillow stuffing.


Step 11: Pin closed and slip stitch shut. Sew back over the opening at least one more time to make sure the hole won’t open up. You can also machine sew the opening shut if you want. It won’t look as clean, but it’s a more durable way to finish it off.


That’s it! Your easy texture block sewing project is complete and now you have a sweet baby gift handmade with love.
In the gift basket I’m putting together, I’m also adding this book written and illustrated by some real talented twins. My brothers Kyle and Derek.